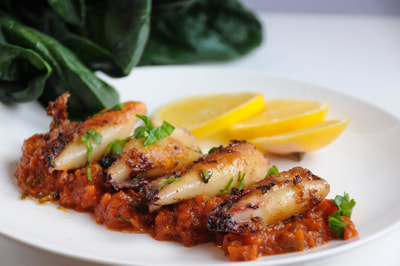
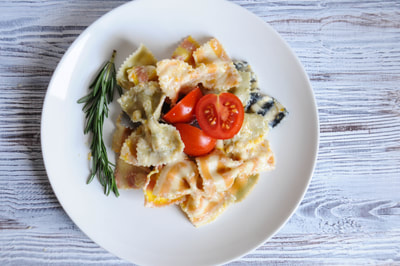
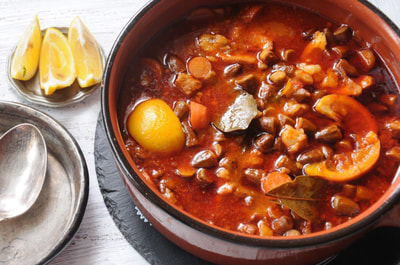
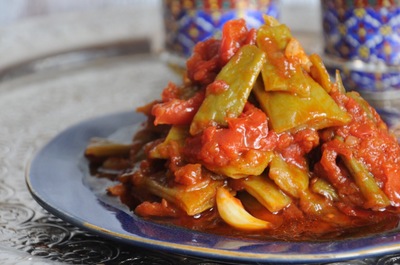
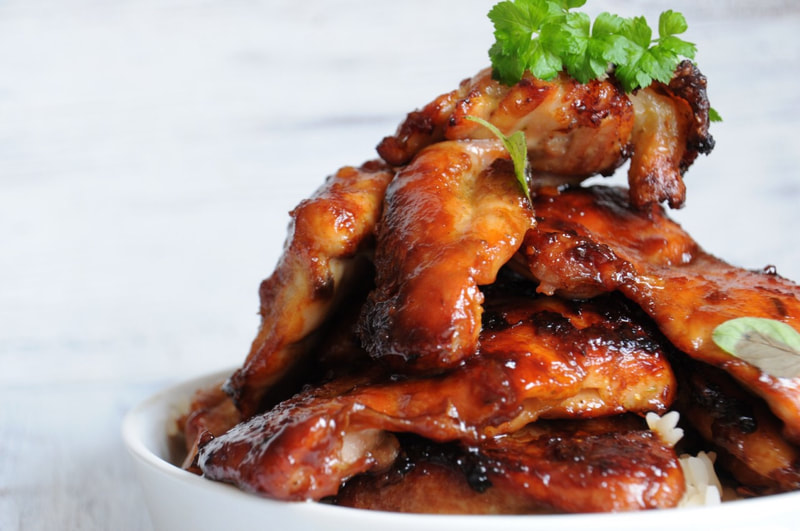
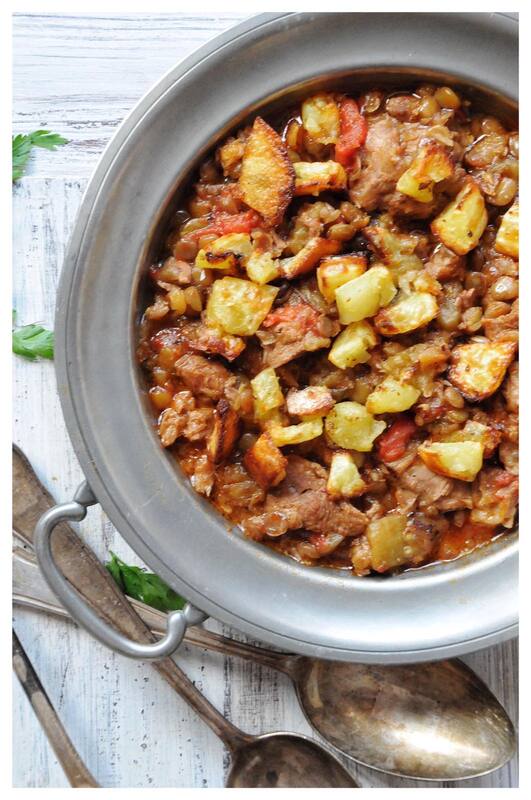
SIt is green beans season and I love this vegetable. You can prepare it in so many different ways, but once i tried this middle-eastern recipe, I usually prepare it this way. Ingredients for 4 to 6 servings Half cup olive oil 12 garlic cloves, sliced 2 onions, chopped 4 cups of green beans, cut diagonally 4 cups tomatoes, chopped 1 head garlic, cloves separated, unpeeled 2 Tbs tomato paste Salt and Pepper 1 Tbs sugar (do not avoid, important ingredient) Process: In a large skillet, heat the olive oil and saute garlic and onions until soft. Add the green beans and stir well (beans will turn a deep green). Cover for 5 minutes. Remove lid and add chopped tomatoes, cloves of unpeeled garlic, tomato paste and sugar. Season with salt and pepper, lower heat, cover and allow to simmer for 30 minutes until sauce thickens and beans are tender (from the "When Susan Cooks" cookbook). Dinstana buranija s paradajzom 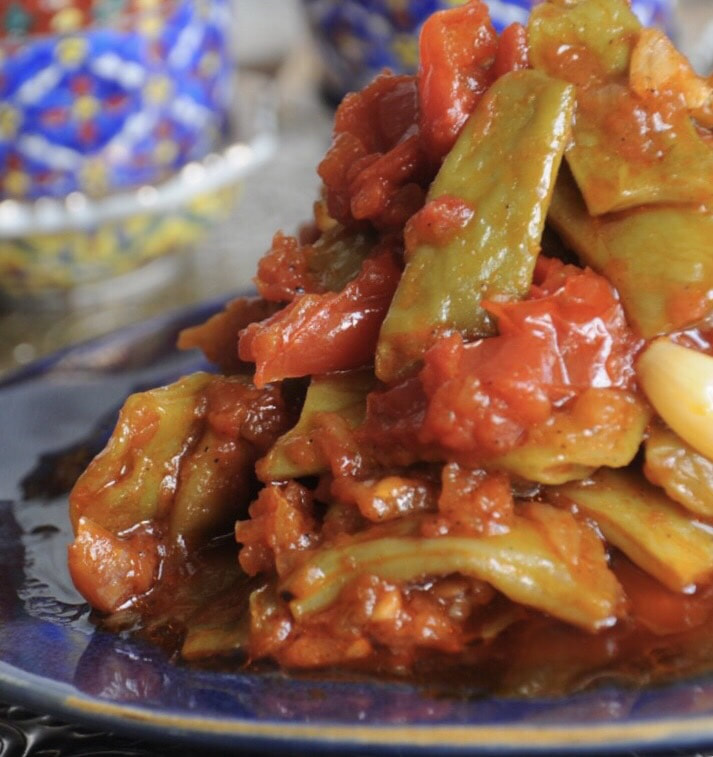 Volim buraniju, spremljenu na sve nacine, ali otkako sam probala ovaj recept najcesce spreman na ovaj nacin.
Za 4 do 6 porcija vam je potrebno: 1/2 Solje maslinovog ulja 12 Cehnica bijelog luka, sitno isjeckano 2 Crvena luka, srednje velicine, sitno isjeckano 4 Solje zelene buranije, ociscene i izlomljene (nesto vise od 1/2 Kg) 4 Solje paradajza sitno isjeckanog (4 paradajza sredne velicine) 1 Cijela glavica bijelog luka, razdvojenih cehni, ali neoguljenih 2 Kasike paradajz pirea 1 Kasika secera (ovo je vazan dio recepta, ne izbjegavajte!) So i biber Priprema U dubokoj velikoj tavi zagrijte ulje i dinstajte bijeli i crveni luk dok ne poprimi staklastu boju i ne omeksa. Dodajte buraniju i dobro promjesajte (Buranija ce poprimiti zagasito zelenu boju). Poklopite na 5 minuta, sklonite poklopac i dodajte isjeceni paradajz, cehnici neoguljenog bijelog luka, paradajz pastu i secer. Zacinite dodajuci so i biber. Smanjite temperaturu, poklopite i pustite da se dinjsta 30 minuta dok se sos zgusne a buranija ne omeksa.
0 Comments
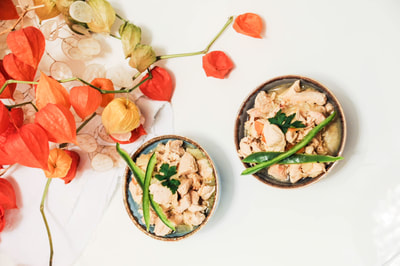
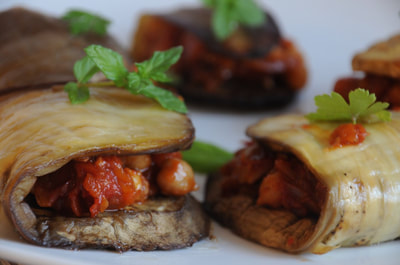
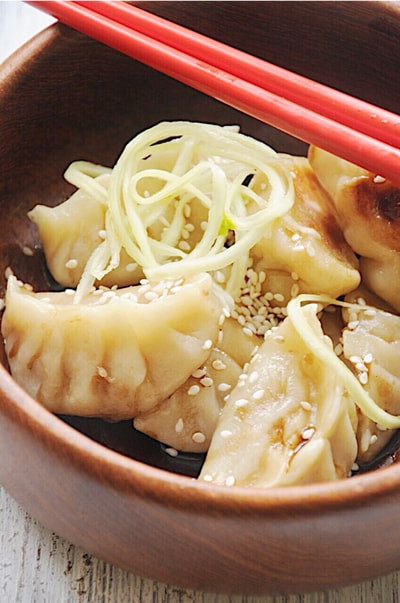
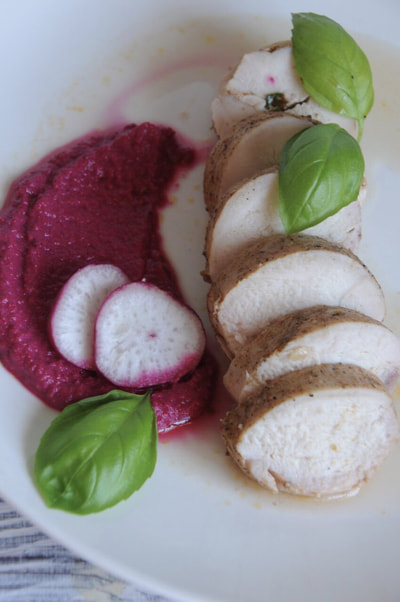
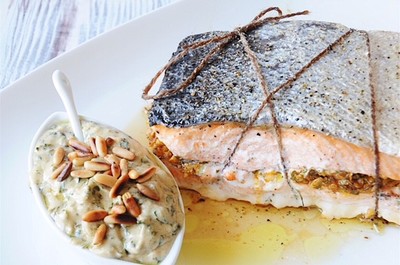
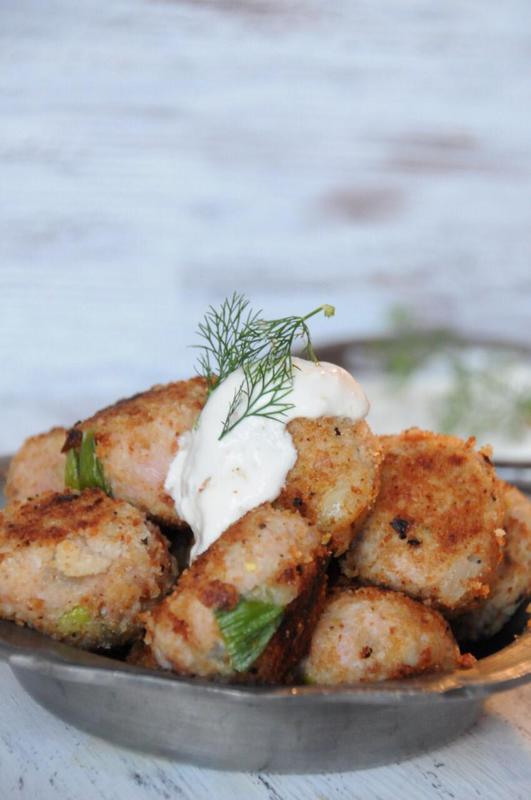
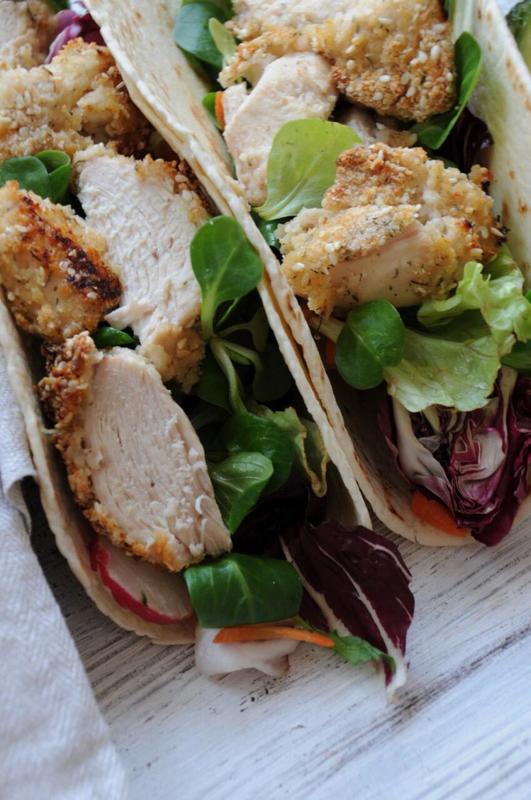
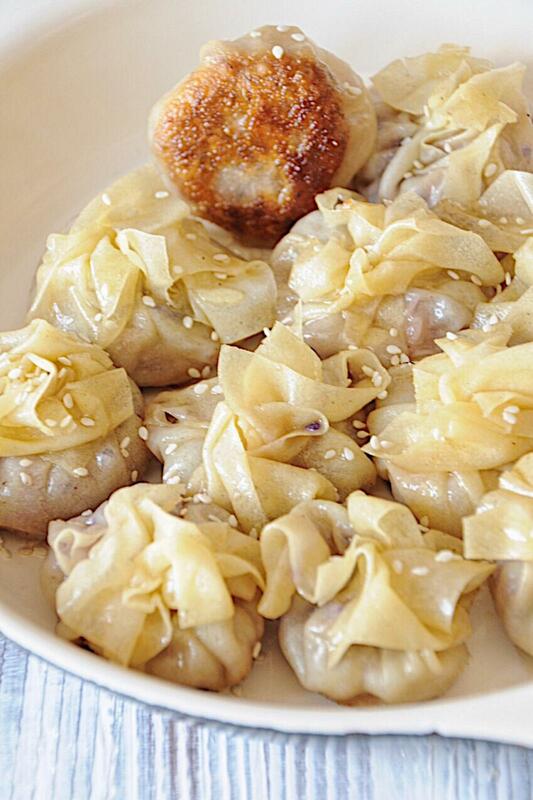
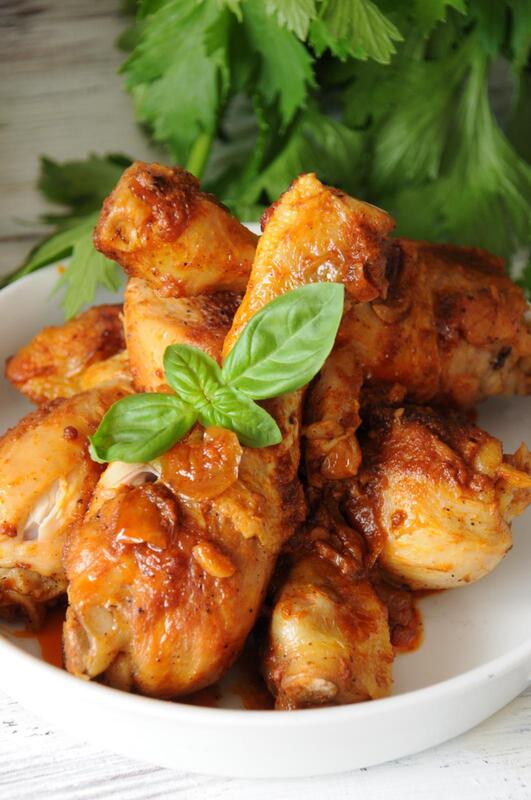
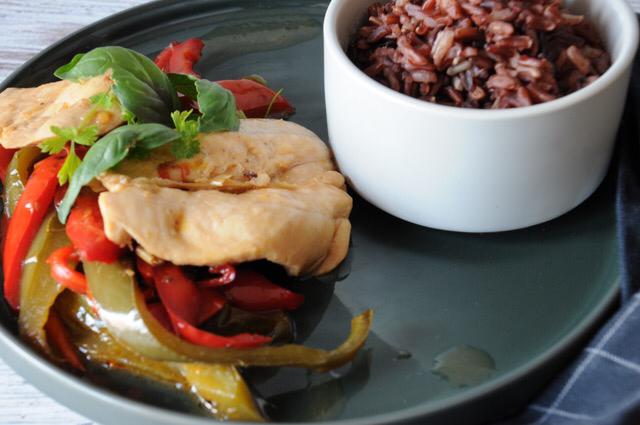
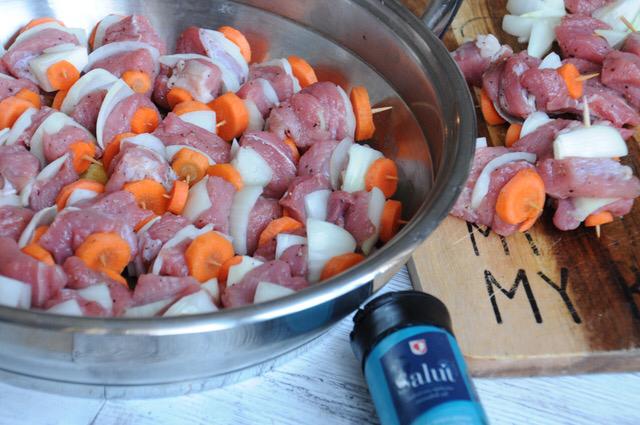
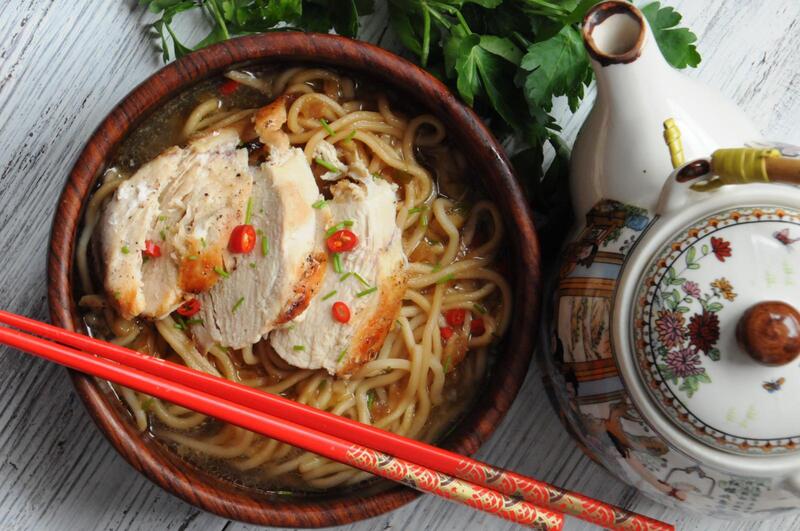
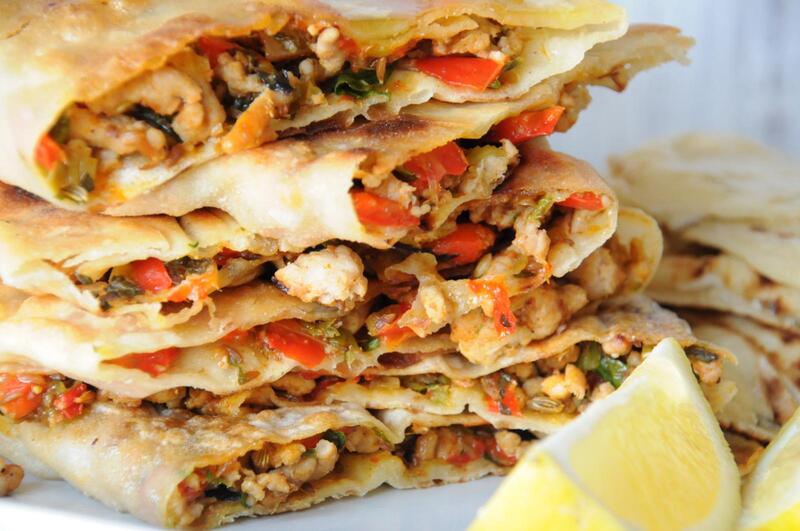
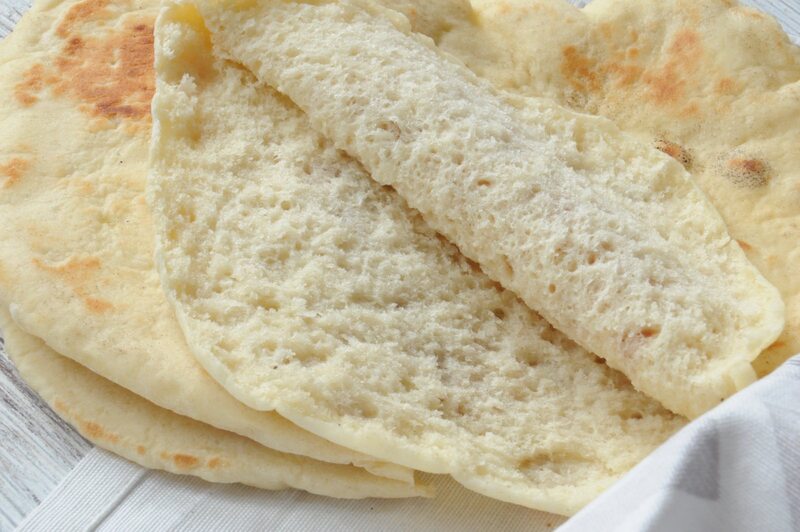
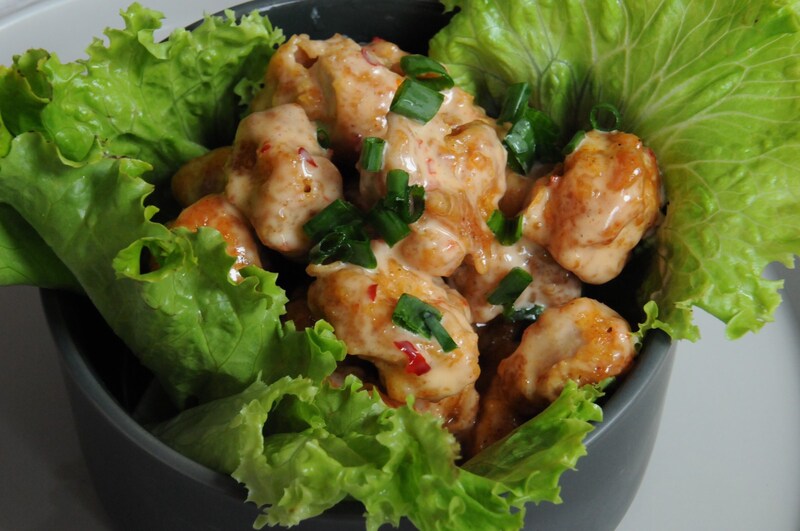
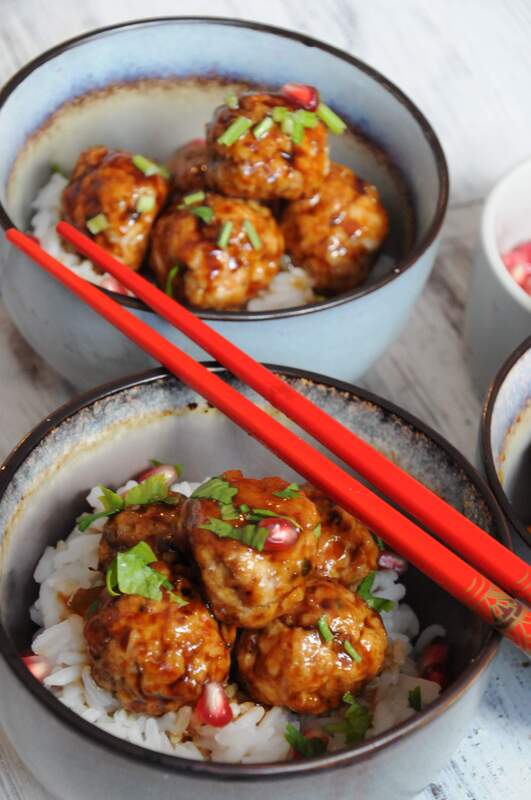
 Ingredients: Skinless chicken breast Salt and pepper A couple pinches of a dried herb of your choice Olive oil Good quality plastic wrap Process Season chicken pieces and drizzle with some oil. (If pieces are too thick slice it lengthwise. Add the chicken pieces and coat all over with the lemon juice mixture.) Let the chicken pieces sit for awhile. (You can coat chicken in seasoning and oil night before, or in the morning. The longer it sits, the tastier it'll be). Bring a pot of water to a high simmer. Roll up the chicken in plastic wrap tightly. Compress as much air out of the chicken as you can as you roll it. Once the chicken is rolled up, rotate it on your cutting board or counter several times to tighten the cylinder even more. Tie the loose ends of the plastic wrap together in a double knot. Poach the chicken in the hot water. Cover the pot and let the chicken steep for 15 minutes. The chicken should be cooked thoroughly by then (if for some reason the chicken is not cooked , for example if you are using larger than required chicken breasts, or if you are using frozen chicken that hadn't quite defrosted before you start cooking, you can always put the chicken back in the poaching liquid for a few more minutes.) To serve, snip off the tied ends of the plastic wrap, and unwrap. Note that there will be some juice inside the plastic wrap with the chicken, which has lots of flavor. So you might want to unwrap the chicken pieces over a bowl or something to catch the juice, which you can then pour over the chicken if you want. 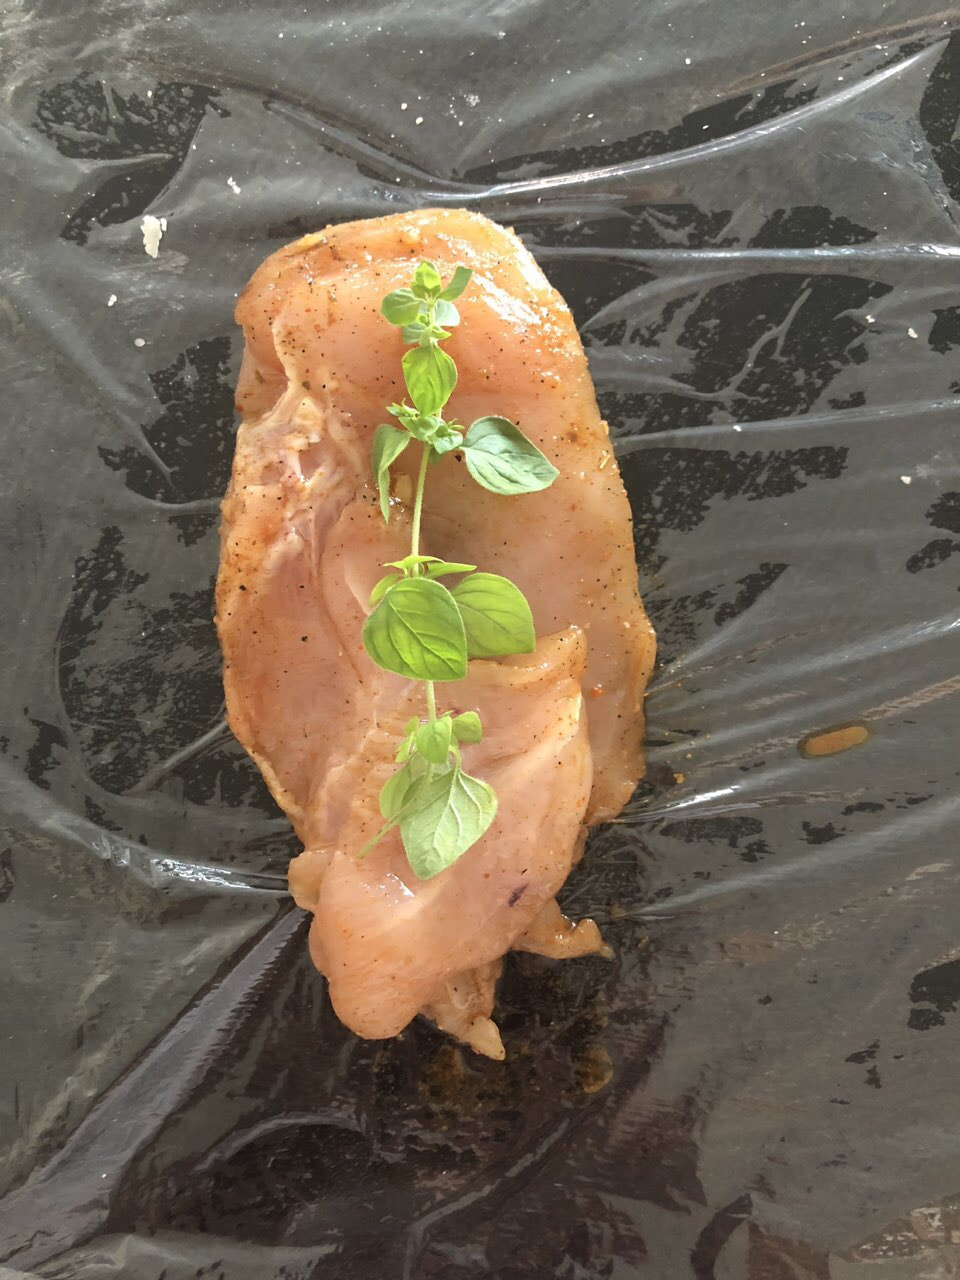 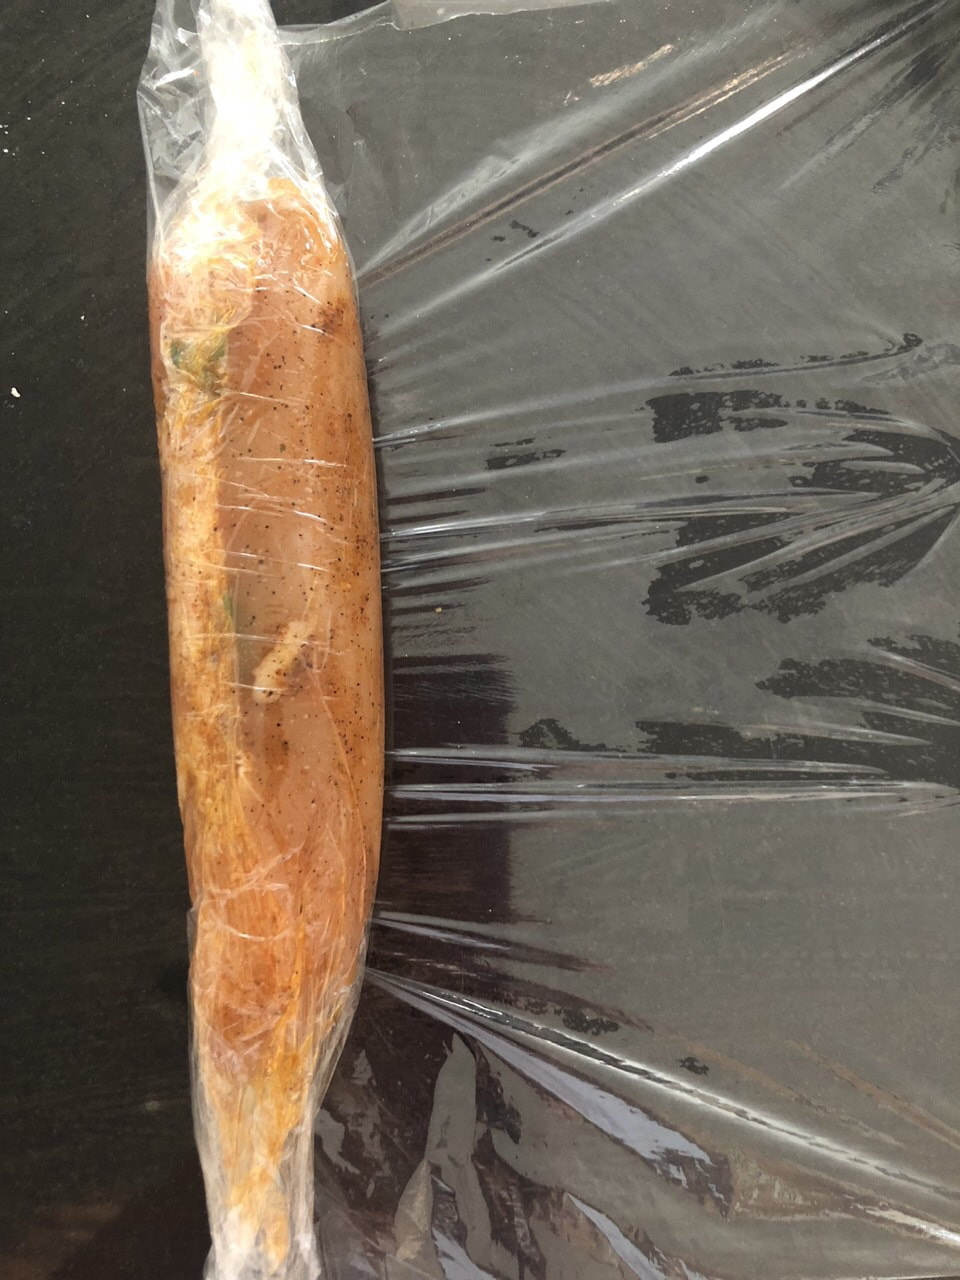 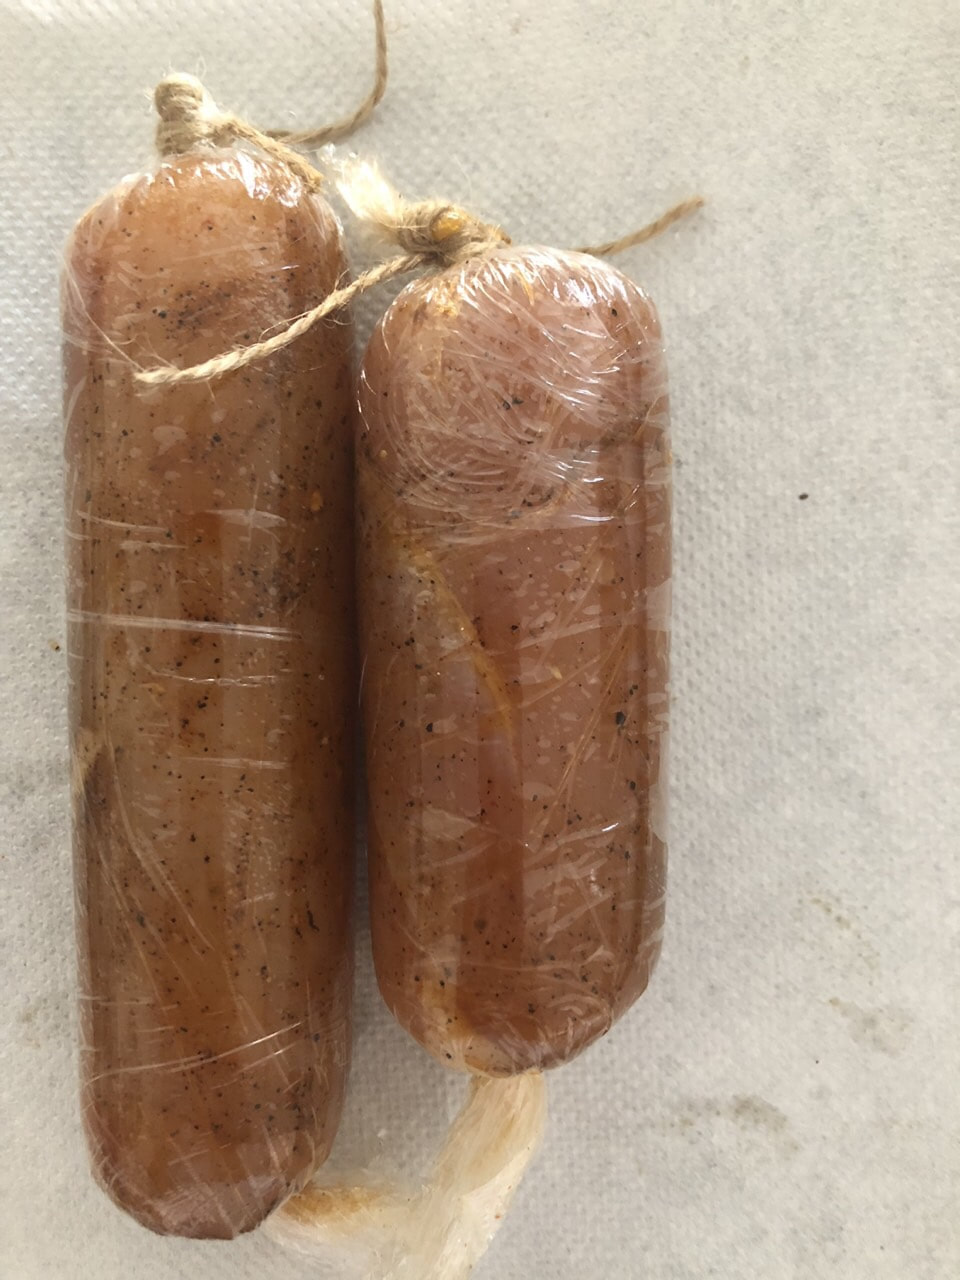 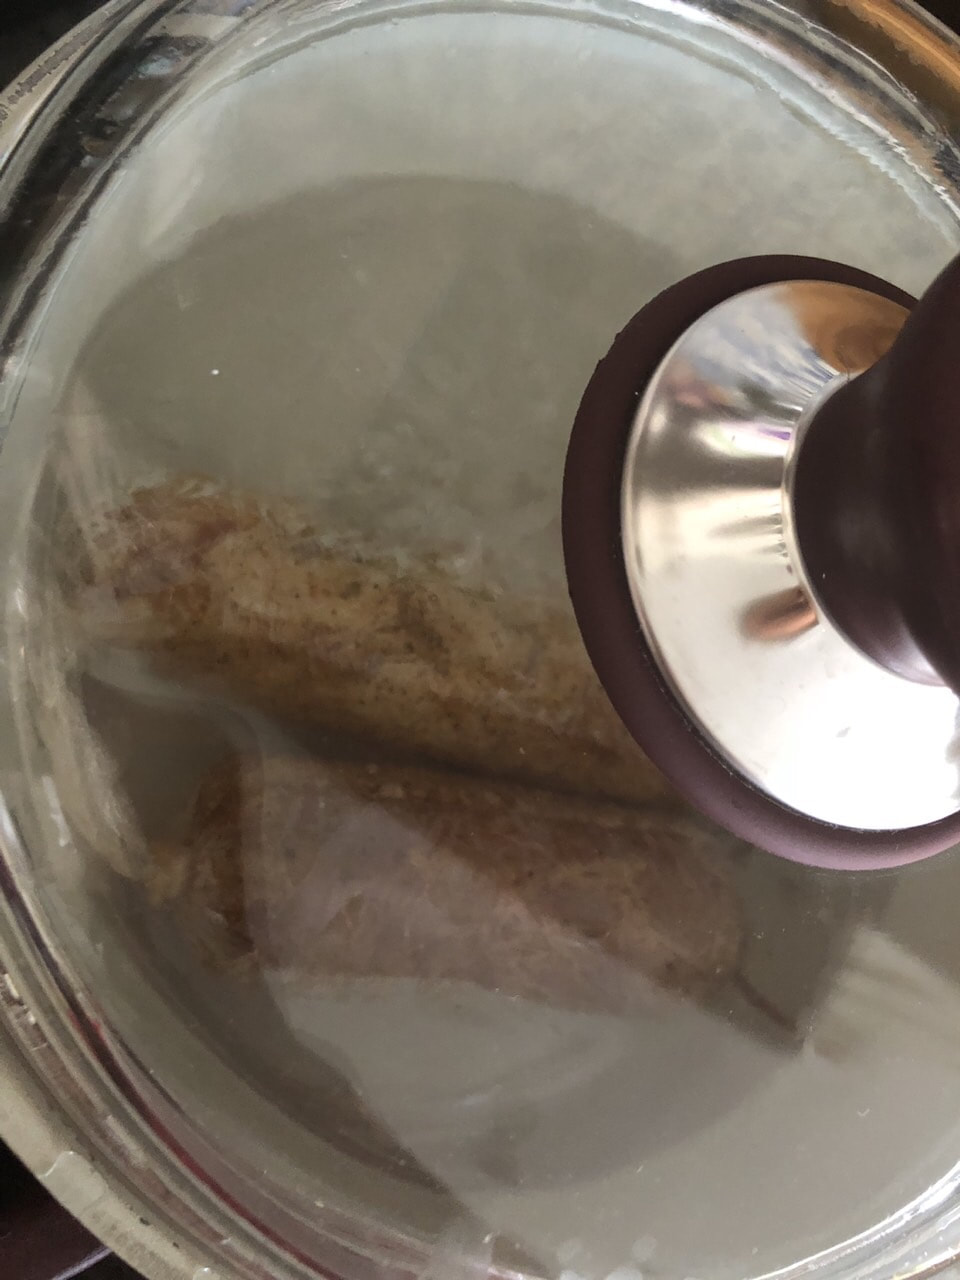 Kuhani Pileci File U ljetnom period izbjegavamo przeno, prezacinjeno, masno. Piletina na ovaj nacin je lagana, socna I vrlo zdrava. Osim toga na tanjiru moze izgledati vrlo lijepo. I najlbolje od svega, gotova je za 15 minuta. Sastojci Pileci file So, biber Zacini po vasoj zelji Maslinovo ulje Kvalitetna plasticna folija Priprema Zacinite piletinu I lagano je pouljite. (Ako su vam komadi piletine predebeli ili generalno veliki, onda je presijecite duzinom jer se debeli komadi ne mogu skuhati u kratkom vremenu.) Pozeljno je da piletina odstoji neko vrijeme. Ne smije biti zaledjena. Ukoliko zelite mozete je marinirati noc prije, ili rano ujutro ukoliko je spremate za rucak. Cvrsto zarolajte piletinu u plasticnu foliju. Probajte stegnuti sto jace I istjerati sto je vise moguce zraka. Krajeve dobro stisnite, zavrnite I prisvrstite. Bas kao sto vidite na fotografiji. Stavite piletinu u kljucalu vodu I poklopite. Smanjite malo vatru I pustite da se kuha 15 minuta. Ako ste koristili vece komade ili odmrznutu piletinu trebat ce vam nekoliko minuta duze. Prije serviranja odsijecite krajeve I odmotajte. Primijetit cete da je vrecica ispunjena tecnoscu. Ti sokovi iz piletine su puni okusa. Iskoristite tu vodu da, prilikom serviranja, prelijte piletinu. 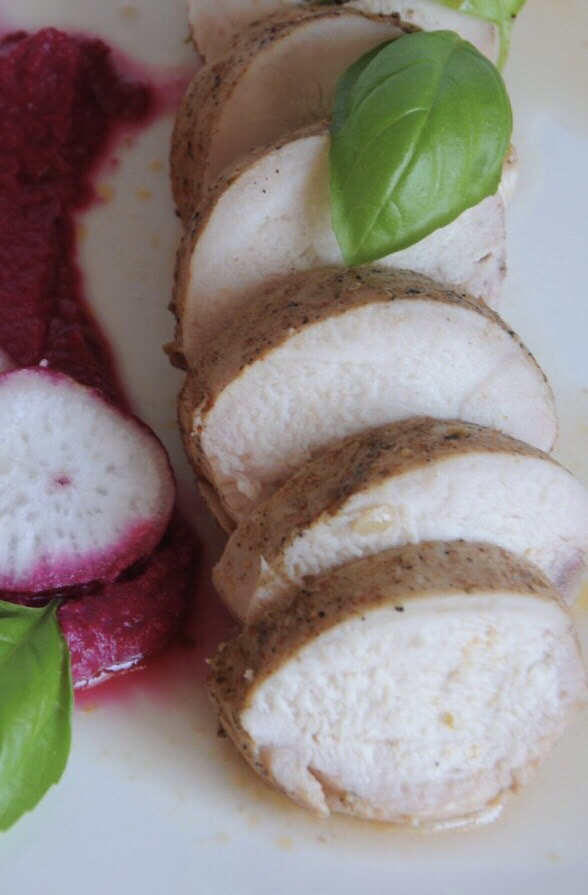 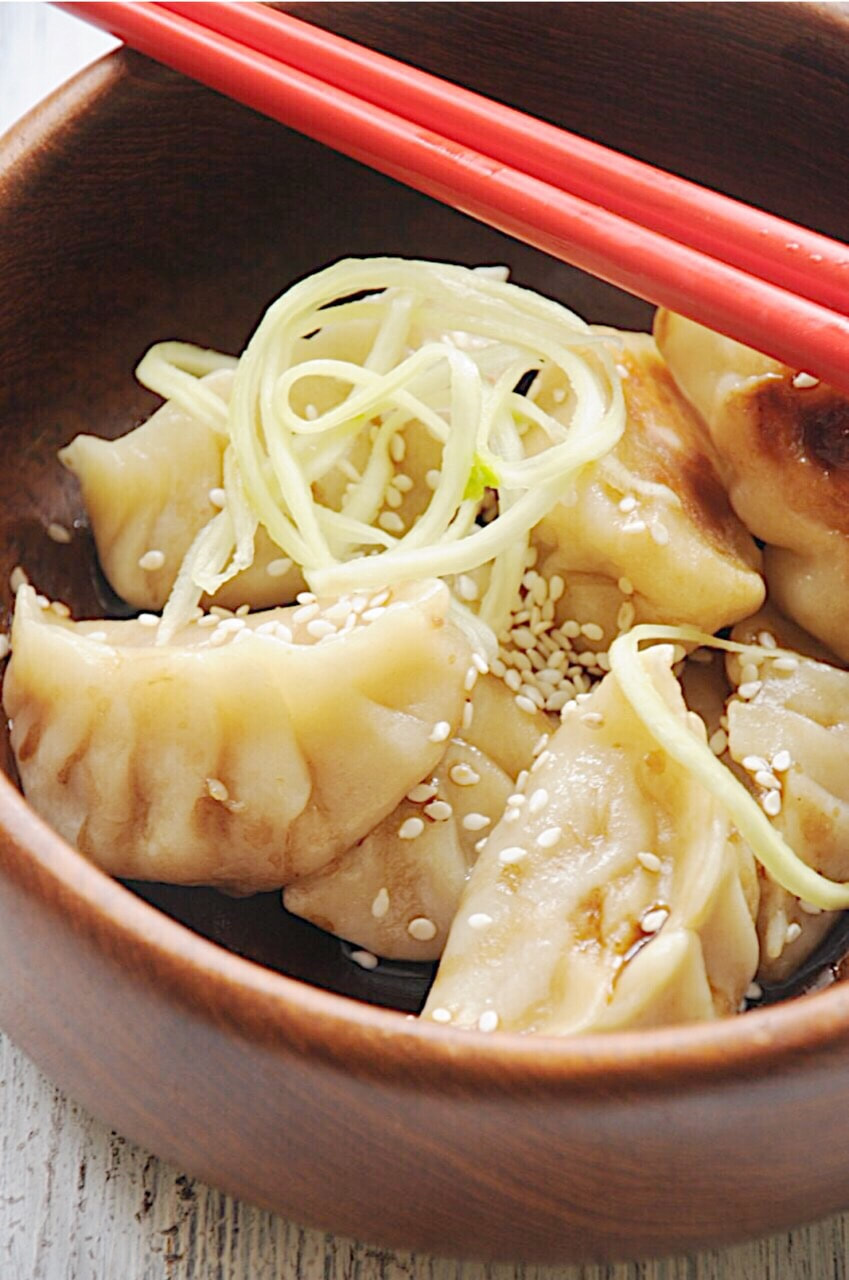 You don't have to go to a Japanese or Chinese restaurant to have these tender chicken dumplings, you can make them at home. And it's easy! INGREDIENTS 4 servings For the filling: 300g chicken mince 1 cup finely shredded white cabbage 2 green onions, ends trimmed, thinly sliced 2 small garlic clove, crushed 1 teaspoon sesame oil or any vegetable oil Pinch ground white pepper ½ small red chilly pepper finely chopped 3-4 tbsp oyster sauce plus: 40 gyoza wrappers, I made it myself by using flour, pinch of salt and mild hot water Sesame seeds Sesame oil or other vegetable oil for frying. Method: STEP1 First of all, prepare gyoza wrappers. If you make them from scratch, kneed your dough and set aside until prepare the filling. STEP 2 Combine all filling ingredients together and mix until well combined. Chill until ready to use. STEP 3 Have a pot of water at hand. To assemble the gyoza, hold the dumpling skin in the palm of one hand and put a heaped teaspoon of the filling onto the centre of the skin. Dip your finger in the water and wipe around the edge of the skin – this will moisten it and help the edges stick together. Bring the edges of the skin together. Pinch pleats along one side, then press each pleat against the opposite flat side of the skin. With each pinch make sure that you are sealing the parcel and keeping the filling in the centre. Put each gyoza onto the clean plate STEP 4 Cook the gyoza in batches. Heat a non-stick frying pan with 1 tbsp sesame or any vegetable oil. Fry the gyoza on one side only – don’t turn them over, you just want one crispy side. They should be golden brown after about 2 mins. STEP 5 Add a good splash of hot water to the pan and cover. Cook over a medium heat for 3-5 mins until the water has evaporated and the gyoza filling is cooked through. Set aside while you cook the rest. Serve with soy sauce and sprinkle with sesame seeds Gyoza (Damplings) SASTOJCI ZA 4 PORCIJE FIL: 300g mljevenog pileceg mesa. Trazite da vam samelju zabatak jer je socniji od pilecih prsa koja se brzo isuse. 1 solja sitno sjeckanog kupusa 2 stručka mladog luka, sitno isjeckajte zeleni dio 2 male čehne bijelog luka, izgnječite 1 kasika sesamovog ulja bijeli biber (ili koji zelite) 1/2 crvene čili papričice, sitno isjeckane 3-4 kasike oyster sosa Plus: 40 gyoza jufkica. Napravite sami tako sto cete pripremiti jufku kao sto je pravite za pitu, razvucite je malo deblje i isijecite kalupom na krugove. Susam za posluzivanje i ulje za przenje POSTUPAK KORAK 1 Najprije zakuhajte jufku, razvucite je i iscijecite krugove. Ostatke jufke oko krugova ponovo nakuhajte, razvucite i isijecite. Ponavljajte postupak sve dok ne iskoristite cijelu jufku. KORAK 2 Sjedinite sve sastojke za fil KORAK 3 Pripremite zdjelicu vode u koju cete umakati prste i mazati rubne dijelove jufkica. No najprije stavite jednu kasiku fila na sredinu jufkice, potom nakvasite prstima krajeve jufkice pa zatvorite gyozu, praveci faltnice s jedne strane i pritiscuci coskove da fil tokom kuhanja ne bi ispao van. Preporucujem da potrazite video o tome kako sloziti gyoze. Slozite ih na cisti tanjir (mozete ga lagano posuti brasnom da se tijesto ne bi zalijepilo) KORAK 4 Kuhajte gyoze u nekoliko tura. Zagrijte tavu s 1 - 2 kasike ulja. Poredajte gyoze i pustite da se zarumene na strani na kojoj su polozene na tavu. Nemojte ih okretati jer one trebaju da imaju hrskavu i zapecenu jednu stranu. Pustite ih da se prze otprilike 2 minute KORAK 5 Prokuhajte vodu i dodajte 1/2 solje u tavu s gyozama. Brzo poklopite. Voda ne bi smjela da ih potpuno poklopi. Ne dodajite previse. Ostavite 3 - 5 minuta. Gornji dio jufke ce tako da se skuha na pari. Servirajte odmah uz soya sos i pospite susamom. |
AuthorFull time food lover, spare time - delicious & easy recipes creator Archives
February 2022
|